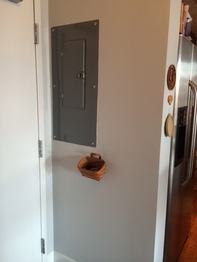
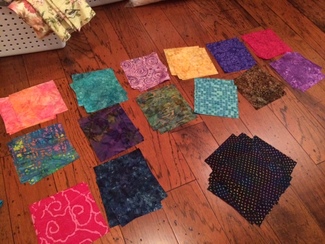
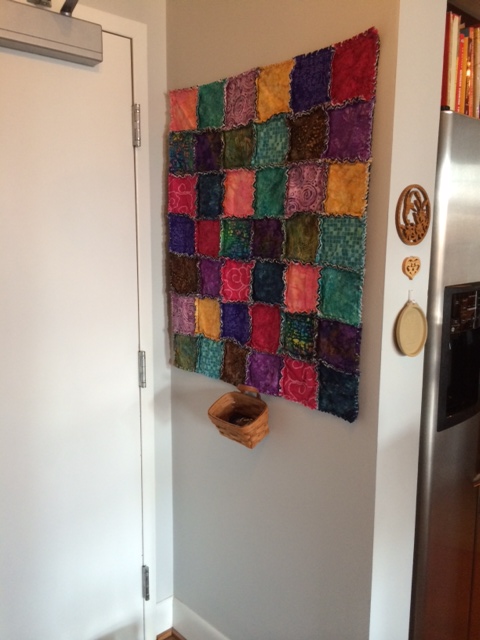
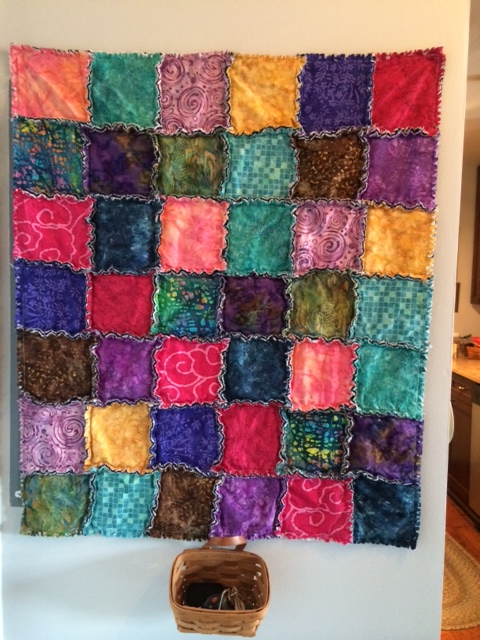
Looking through all my fabrics trying to come up with something to brighten that spot, I spied all my batik fabrics that are a myriad of colors, bright and cheerful. Needing a set size that would fit the spot, I took to my pencil and paper and started to design a rag quilt. What is a Rag Quilt? Rag quilts are really comfy and cozy types of quilts that only get softer in time after many washings. Instead of sewing the seams with the fabric edges inside, a rag quilt exposes the raw edges of the fabrics. As the fabrics fray over time, the seams get fluffy and softer. Most times, rag quilts are made with flannel fabric since they are super soft and fray well in time. I chose the batiks for the pop of color and because most batiks do not have a right or wrong side (the color and pattern is the same on both sides). Since I was going to expose the raw edges of the fabric, I wanted both sides to have the same color intensity.
Assembly Sewing the quilt together is pretty straightforward. My quilt needed to be 6 squares wide by 7 squares tall. Each square is made by placing the backing fabric face down, lining up a white flannel square on top and then placing the top square face up into a "sandwich". Then take 2 sandwich squares and place them back to back, sewing them together along one side with a 1/2" seam. Add another sandwich until you have a row of 6 squares sewn together. Make 7 rows total, making sure you maintain your original pattern that you designed when the fabrics were laid out. Once the rows are sewn together, each row is sewn to the adjoining row along the long side of the rows by placing the backs of each row together. Once all your rows are sewn together into a 6 square by 7 square patchwork, sew along the outside edge to secure all the loose fabric edges with a 1/2" seam. Finishing Once all the sewing is done, each exposed seam needs to be cut perpendicular to the seam stitching about every 1/4". Just get crazy with cutting those seams since that is what will cause the fabric to fray into a soft, fluffy edge! Be careful that you don't cut the stitching line though! Toss the quilt into the washer and wash with cold water and fabric softener. Dry in the dryer to fluff and voila! A super snugly rag quilt... Awww, doesn't that look better than the ugly electrical panel? I think so! It is the perfect size to use as a baby quilt when made up in soft flannel baby prints.. Guess it's time for a trip to the fabric store to get some more flannel in cute baby prints. Check out the Batik quilt here...or the Baby quilt here... Now where are my car keys??? :)
3 Comments
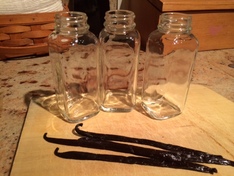
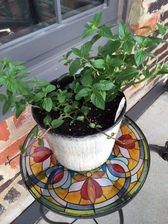
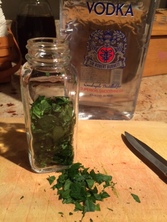
Ok, I know it's only August, but some things take time to make really yummy...so tonight I put together some extracts for Christmas gifts. On the menu are organic Vanilla extract and organic Peppermint extract. Both for baking or flavoring drinks...the possibilities are endless! Ingredients Extracts are surprisingly easy to make with the right ingredients. For the Vanilla extract, I used an organic Madagascar Vanilla bean that has a smooth, creamy vanilla smell. The peppermint leaves came from my peppermint plant on the back porch. Both are extracted with vodka that is at least 80 proof. You can use the less expensive vodka since all the alcohol evaporates in cooking so don't waste money on the "good" stuff. Package the extracts in glass jars. Do not use plastic since plastic might absorb some of the yummy oils and it shortens the shelf life considerably. I used 4 oz. French square glass jars since they look stylish and make a fancier gift presentation. 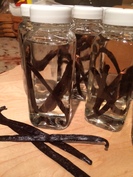 Vanilla Extract Take 2-3 Vanilla beans and cut lengthwise to expose all the yummy vanilla bean. Cut them in half. Place in a small glass jar that holds 4 oz. Cover with vodka and screw on cap. Shake. 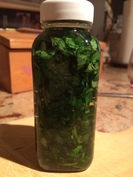 Peppermint Extract Remove all stems from peppermint leaves. Wash and pat dry. Coarsely chop and bruise slightly to expose oils. Place in a 4 oz. glass jar. Top off with vodka. Screw on cap. Shake. Optional: Place 1 prepared Vanilla bean in the bottle to make a Vanilla Mint extract! Yum! Storage
Take your freshly made extracts and place them in a dark, cool cabinet or pantry....and wait...shake each week. Patience! ~ The Vanilla extract will be ready in about 8 weeks. The vodka will turn from a clear liquid to a rich brown as the vanilla oils are drawn into the vodka. The Vanilla beans can then be removed, dried, chopped and made into Vanilla sugar or they can stay in the bottle. ~ The Peppermint extract will be ready in about 4 weeks. Taste it after 3-4 weeks to see if it's strong enough for your liking. If it is, then filter out the peppermint leaves with a strainer and re-bottle. Once the extracts are finished, make up a cute label and voila! Now you have some wonderfully rich, homemade organic extracts for a fraction of the cost at the grocery store. They both make great hostess gifts or holiday gifts that any cook would love! P.S. If you haven't already done so, sign up for our monthly newsletter and you might receive (hint, hint) a coupon code good for one of these yummy extracts closer to the holidays...sign up here... :) |
Welcome to Tailored Tidbits!If I'm not in the kitchen cooking up new items for my shop, I'm sewing fabric baskets, taking care of our honeybees, pitching in on the latest project at my son's, or planning a trip somewhere with my daughter. Here, I'll share a "day in the life" at Tailored Touches! 
Sign up for the newsletter for an instant 10% off coupon.
Categories
All
Archives
February 2019
|


 RSS Feed


